Chapter 5 - From the Skies to the Seas
Before the Alphas can focus on planning their attack on the Phantom Fortress, there is other work to be done. Liza assembles a team of eagles for a mission in the Forgotten Desert. Afterwards, any further plans are quickly interrupted as the Phantoms launch a surprise attack against the oceans of Jamaa.
The Forgotten Desert
Adventure 8 - May 2014
Liza has brought together a group of eagles for a mission in a place known as the Forgotten Desert. She informs them that long ago it was a thriving and lush land protected by the power of five special crystals. When the Phantoms invaded, they destroyed everything in their path, including the crystals by breaking them into shards. After tearing through the now desert, a few Phantoms stayed behind to guard the territory. They scattered the crystal shards across the desert in hopes of preventing anyone from reassembling the power.
However, Liza has recently begun to study the movements of the Phantoms. She determined that there are fifteen minutes in the day where the Phantoms rotate their guards. It’s just enough time where the desert is left unwatched for the heroes to swoop in and collect the crystal shards! The group of eagles soar out into the rocky desert on their quest.
Twenty-five green shards were left out in the open desert by the Phantoms.
The twenty-five orange shards were hidden in the sand, shining just enough to be seen by the heroes..
Twenty blue shards were hidden in the now dry oasis of the desert, rising to the surface when their water is restored.
Fifteen white shards were hidden such that they could only be found by perching on certain glowing cactus.
Finally, the five purple shards require all four eagles to work together. By sitting together at certain enchanted rocks, stones turn to reveal where to fly next to find the shards.
The group are successful in their mission, retrieving all of the crystal shards before the Phantoms return from guard rotation. Liza congratulates the team are their hard work, as now she will be able to reassemble the crystals and drive the Phantoms from the desert. To reward their efforts, she gives them five special prizes.
Bubble Trouble
Adventure 9 - June 2014
Our heroes enter the ocean and meet with Liza, who informs them that the Phantoms have begun wreaking havoc on the oceans of Jamaa by capturing animals and polluting the water. Liza asks the heroes to help investigate the situation and report back. She also informs them of the chomper clams they can use to trap any Phantoms they may run into. After she wishes the heroes good luck, they head into the reef.
While in the shallows, the heroes come across a friendly dolphin, who shows them the Phantom pipes that are being used to pollute the water. The dolphin tells the heroes that they can shut the pipes off by swirling above the valves, and asks for help rescuing 4 other dolphins who were trapped by the Phantoms. Further along, they encounter the first dolphin friend, who has been locked in a bubble by the Phantoms. The dolphin says she has a valve with her, and if the group can save her, they can have the valve to use on a broken Phantom pipe up ahead. After defeating the Phantoms to obtain the key, they return to free the dolphin, get the valve, and move forward.
GiddyDolphin dashes through the line of sight of the Phantoms to avoid any further trouble.
As our heroes follow the paths and currents further into the depths, they finally come across the last three friends. The heroes explore a nearby maze to find the keys to the bubble prisons. Using valves to close Phantom pipes while doing so. Once all 3 dolphins are saved, they assist the heroes by swirling above a nearby Phantom hatch to force it open. The heroes go through the hatch, which opens a path leading up to the surface. While on the way up they can see a large factory crawling with Phantoms in the distance. Liza is waiting for them at the surface and is shocked by the news. She tells the heroes she may need their help again in the near future, then leaves to gather up the other Alphas and discuss a plan.
In Too Deep
Adventure 10 - July 2014
Our heroes meet with Liza at the entrance to the Phantom factory. After the last investigation, she met with the other Alphas to discuss the issue. Graham thinks the Phantoms are trying to make the ocean more habitable for themselves by polluting the waters. She once again asks for the heroes' help, this time to explore the factory, discover the Phantom's plans, and figure out how to stop them.
Entering the pipe, the heroes are taken down to the Dark Deep. Sunlight can’t make it to these waters, but the caverns are thankfully lit by bioluminescent coral. It is here that they come across a new tool called whirlpearls, an explosive that can be used to defeat Phantoms and unblock pathways. Using the whirlpearls, they open a cave nearby and enter, fighting off the Phantoms and closing Phantom pipes along the way. Eventually, the path leads them to four imprisoned sharks. Tasked with freeing the sharks, the heroes push through the nearby maze. They manage to obtain all four keys and unlock the bubble prisons. With the help of the four sharks, they swirl to force a nearby Phantom hatch open, leading into the Phantom factory.
Sirens blare and the Phantom Engineers panic. Even to Phantoms, a shark in the water is a terrifying sight.
The factory itself is a mess of piping and mechanics, with splotches of green slime and an orange glow lighting the area. There are three machines that are causing the pollution, each having a valve and a big red button. The heroes swirl above the valve to open the hatch above the big red button. They hit the button several times before the hatch closes. Then they repeat the process until the machine explodes. The group successfully uses the same strategy on the other two machines, stopping the Phantom’s creation of pollution.
On the way out of the factory, they hear someone calling for help from a nearby cage. Once the heroes approach the cage, the voice identifies itself as Tavie, who asks for their help informing the other Alphas of her capture and starting a rescue mission. Once the heroes get back to Liza, she is shocked to hear of Tavie’s capture and suspects that the Phantom's plan to capture all of the Alphas. First it was Greely, now Tavie. Liza thinks they should act quickly, and hurries to meet with the other Alphas.
Turning The Tide
Adventure 11 - August 2014


The heroes meet with Graham at the water's surface, he informs them that after destroying the Phantom factory, Tavie was taken to an even more secure prison. She can’t escape alone because she was born without a tail fin, and instead uses a prosthetic. Graham further explains he was recently asked by Tavie to create a new tail fin, and that he had given it to the dolphins' Bottlenose Brigade as they were planning a rescue mission. However, they’ve gone silent for a while now. The Alphas know that Tavie is being held in the ancient ruins below them, so the heroes set off to search for her and the other dolphins.
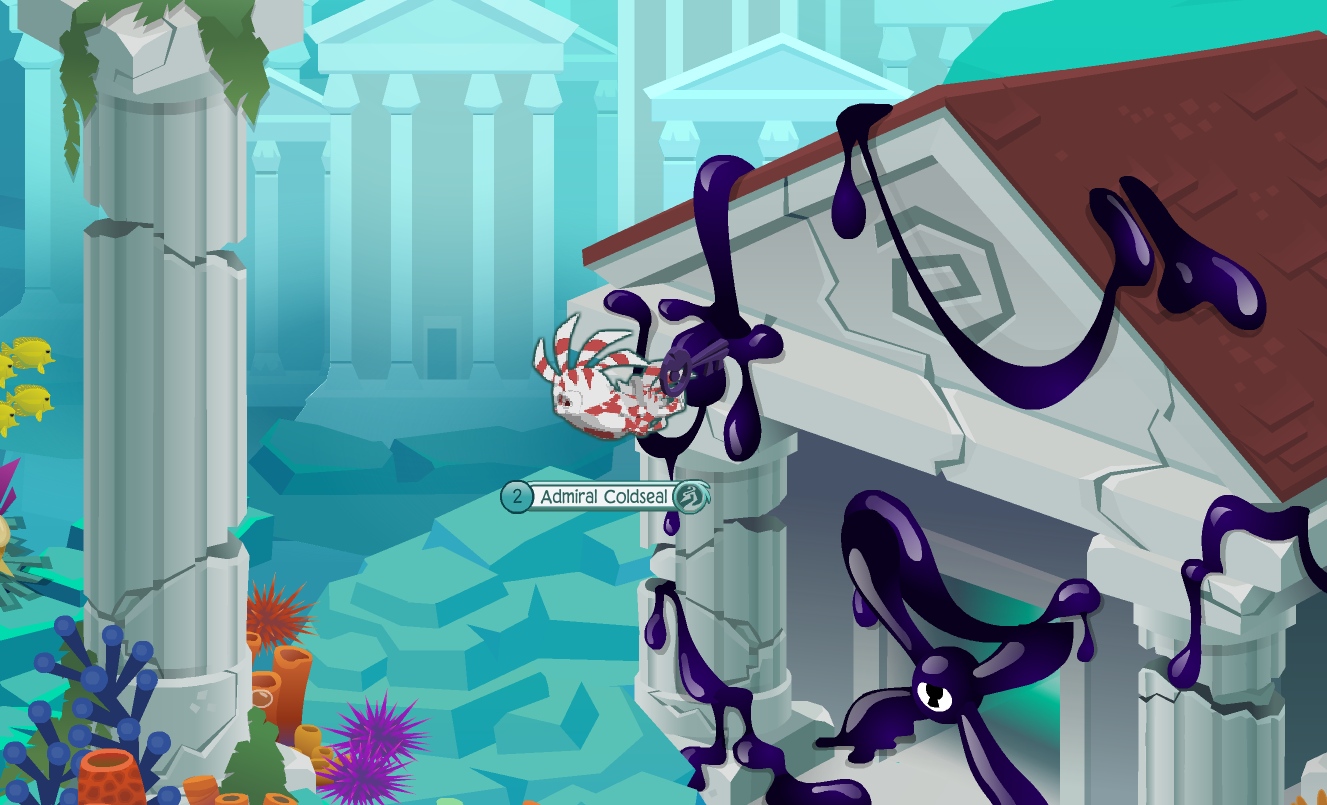
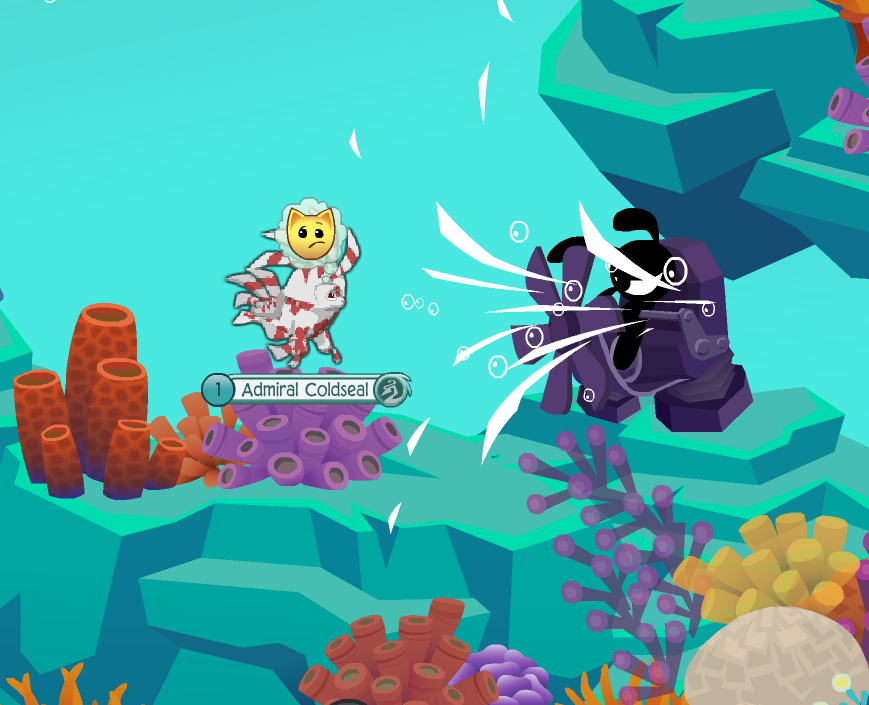
Approaching the ruins, the heroes come across a large fan that pushes them backward. The machine is being powered manually by a Phantom like it’s pedaling a bike. Using whirlpearls, they are able to destroy the fan and defeat the nearby Phantoms. Searching further along the surface of the ruins, they find a dolphin who is a member of the now separated Bottlenose Brigade. She informs the group that the brigade came to the fallen temples in search of the legendary Skeleton Key.
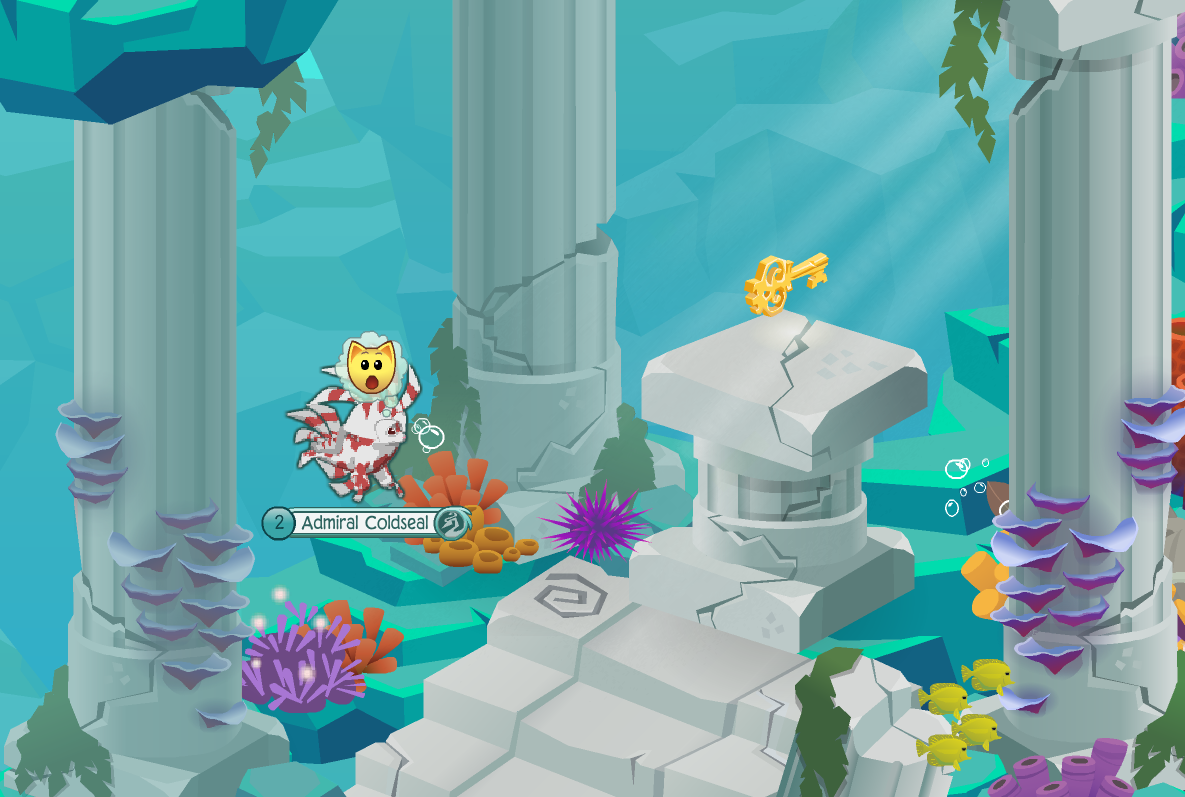
The dolphin shows the heroes that the key is trapped behind three Phantom pipes emitting walls of pollution. Within the nearby maze, the heroes destroy Phantom fans and other defenses to find the missing valves. Finally they are able to obtain the Skeleton Key, granting them the power to open nearly any lock. They first use it to gain access to a nearby decaying building, allowing them to go deeper into the ruins.
Alongside the Bottlenose Brigade, a heroic seal charges through the Phantom’s barriers.
Inside, the heroes find the entire Bottlenose Brigade locked away. Thankfully, with the Skeleton Key it’s easy enough to unlock all of the Phantom’s prison pods and free them. The captains of the Brigade order the soldiers to use their whirlpearls to break through a Phantom door. With each of the three doors taken down, the group are able to free the rest of the Brigade’s members. Reassembled and ready for battle, the lead captain gives the heroes Tavie’s new prosthetic tail fin.
Finally the group discovers Tavie’s prison. While she's able to communicate through the bubble, and even receive her replace tail fin via an opening, her cell is held down by three locked chains. The chains can only be unlocked via Aqua Crystals; which the Phantoms have foolishly not hidden very far. They’re simply behind some boulders nearby. While the Brigade holds off the oncoming horde of Phantoms, the heroes use whirlpearls to destroy the boulders and find the three aqua crystals.
With all 3 chains unlocked, and her new prosthetic tail, Tavie can finally be freed from Phantom prison. She breaks out of the pod using her magic, and plays her nautilus guitar to create a current to ride all the way back to the surface.
Wow, that feels good! Okay, everyone. Let's get out of here! Meet me at the top of the cavern and I'll create a current that we can ride all the way home!
There, the heroes and Tavie meet with the other Alphas. They are all very relieved to see her, and curious about what she learned. Liza suggests she may need some rest for a bit before telling them everything, to which Tavie agrees and tells the Alphas that after they hear what she learned, they might need to take a breather themselves.


